Three Generations build a house together... Eco Friendy Urban Homesteading, being as frugal as they can...

Thursday, December 27, 2012

Siding Complete: Part 2


The finished thing looks nice, but we wanted to remember all the steps involved in getting us there- and especially the friends and family that have lent a hand!

Kevin and Keith ripping up plywood strip for the siding rainscreen...
...that get secured to the foam to hold on the siding...


Kip & Gary helping to secure the rain screen strips to the side of the house- screws through the foam and into the wall sheathing....
Terese was back inside, pre-painting trim boards: Most of the trim boards and all the siding, Nathan had pre-painted at the factory before they got on-site, but there were a few extra that we needed, so like the rafter tails, we painted them inside, before installing them...

Nathan had a couple of tricky spots to trim- along the curve of the rafter tails- where the trim intersects it.

On days when it's been too cold to work outside (or too hot) we've been inside, putting up sheet rock and mudding joints...  Kip and Gary tackle the beveled openings around the patio door while Keith gets some mud on the adjacent wall...
What a Crew!  

Since we started putting up sheet rock, Terese has been following behind, taping and mudding each room. As the head "Mudder", Nathan's mother IS the main contributor to getting the rock all ready for painting!

Of course, Nathan's favorite helper is our little J. She comes over to help her daddy whenever he has something good for a 4 year old to do! Above, J was helping put in attic insulation... Below, she is helping her daddy put up some siding (on the roof deck- where no scaffolding was required- and her mamma wasn't too freaked out!):

That does it for now.  We are glad for all the good wishes and help from our friends and neighbors throughout this whole process.  We are turning our attention towards interior finishes for now until the weather warms up again in the spring.... Happy New Year!

Siding Complete: Part 1

We started siding the house back in September.  We had some really hot days still, that made it preferable to work inside on the sheet rock, so it was never a "full-steam ahead" kind of job. Additionally, the time setting up scaffolding to get access to each section of the house took a fair bit of time.  Breaking it up kept the job interesting though...

With a couple of cold days, it became clear that although the siding could be done in the winter, the stucco really had to take priority.  We wrapped up the last of the stucco back at Thanksgiving and have been finishing up all the trim and siding since then.  Below are the pictures of the place just after Christmas:

 The Front of the house- from the Southeast...  Still have the construction fence up all around the property- until next spring when Nathan gets the new fence and landscaping in...


The Front of the house- from the Southwest- you can just catch the roof deck railing between our roof line and Terese & Keith's roof line in the back...


Here is the back of the house- from the alley at the North of our lot. Eventually, Nathan will get a bike shed/chicken coop built on the alley that will make this yard a private garden for Terese...


This shed roof covers the patio doors and the entrance to Keith & Terese's part of the house.  It makes a great space for hanging out to watch the rain come down...


Here is the view of the house from the East-  we have built just a couple of the 30 or so raised beds that we are planning for this side lot...


This is a view of Terese & Keith's place- from the patio...


And here is a close-up of the trim / siding / stucco materials that Nathan brought together so beautifully for us.

We'll get part 2 assembled soon, with a lot more photos of the process- with all our friends and family who helped us out!

Monday, December 24, 2012

Roof Deck Railings

Had a chilly Christmas Eve Day- single digit temperatures all day, but Nathan finished up the railings that he started this week!  It really finishes up the roof deck nicely:


Nathan found a "red wood" that he milled up as a cap to the parapet wall, and then used galvanized pipe for the railing posts-  it will tie in with the garden fence we put in next spring.

Jocie was a great helper on this project:  She and her daddy worked together- cutting steel, filing down the burrs, and setting them in place:


Nathan drilled all the holes in the cap piece, and came up with a cool bolt connection that keeps the whole railing really sturdy:  He cut through the rubber membrane on the parapet wall:

Cut through the parapet wall sheathing- to get access to the bolt that would hold the railing cap down:

After J helped him get all the railing posts in place, Nathan inserted the long threaded rods:


Getting the holes in the cap piece all lined up took a little doing, but wasn't too bad... The threaded rods, in some key locations, keep the top cap from lifting up- and are strong enough to keep the railing assembly from being wiggly:

The 2x4 top was covered up with another, wider board to make a nice ledge for plates and glasses and such, and also covers up the bolt tops. Nathan got some "stucco panel" from Hardi to cover up the rubber roof membrane below the rail- the primed color is pretty close to our intended stucco color for the rest of the house:

We can't wait till spring to start having friends over to share meals with on the roof deck! We wrapped up the rest of the siding this week too, so now Nathan can join Terese inside where it's nice and warm to finish up sheet-rock mud, priming and painting!  More to come!


Thursday, November 22, 2012

The STUCCO Process

We decided early on that having old-fashioned stucco on our house would be a nice thing to help the house fit in with the neighborhood. Given that our whole project is based on a budget with just material costs (all our labor is our own) the stucco is a very economical material to use as well.

Traditionally, stucco goes on in 3 layers: Scratch Coat, Brown Coat, & Finish Coat and is around 3/4" or 1" thick. More modern "stucco" walls are done with EIFS (Exterior Insulation & Finishing Systems) - aka "Dryvitt" - where a very thin coat of plasticized stucco- almost think paint- is applied over rigid insulation.

Our stucco is a hybrid. We have the rigid insulation on the outside of our structural wall sheathing, but we have been using a 2 coat system of fiberglass-reinforced stucco that will be about 1/2" to 3/4" thick. It offers good fire protection, better flexibility (to reduce cracking) and with just 2 coats, a quicker installation than old-fashioned stucco.

Some days, Nathan has had help. Kip or Keith has run the mixer and hauled up buckets of "mud" while Nathan puts it on the walls. Most days though, Nathan is doing it all- mixing, hauling, applying, and texturing. In a typical day, Nathan puts up about 10 sacks of stucco- at 80# each, plus water, that's about 1000 pounds! Three days in a row of that and he's ready for a break!
Here's the blow-by-blow.
Here's the set-up:  Cement mixer, several buckets with measured amounts of water, wheel barrow, and scaffolding in the background.

Loading up the mixer..

The wheelbarrow is a good target to dump the mixer- then Nathan scoops up the "mud" onto a "hock"...

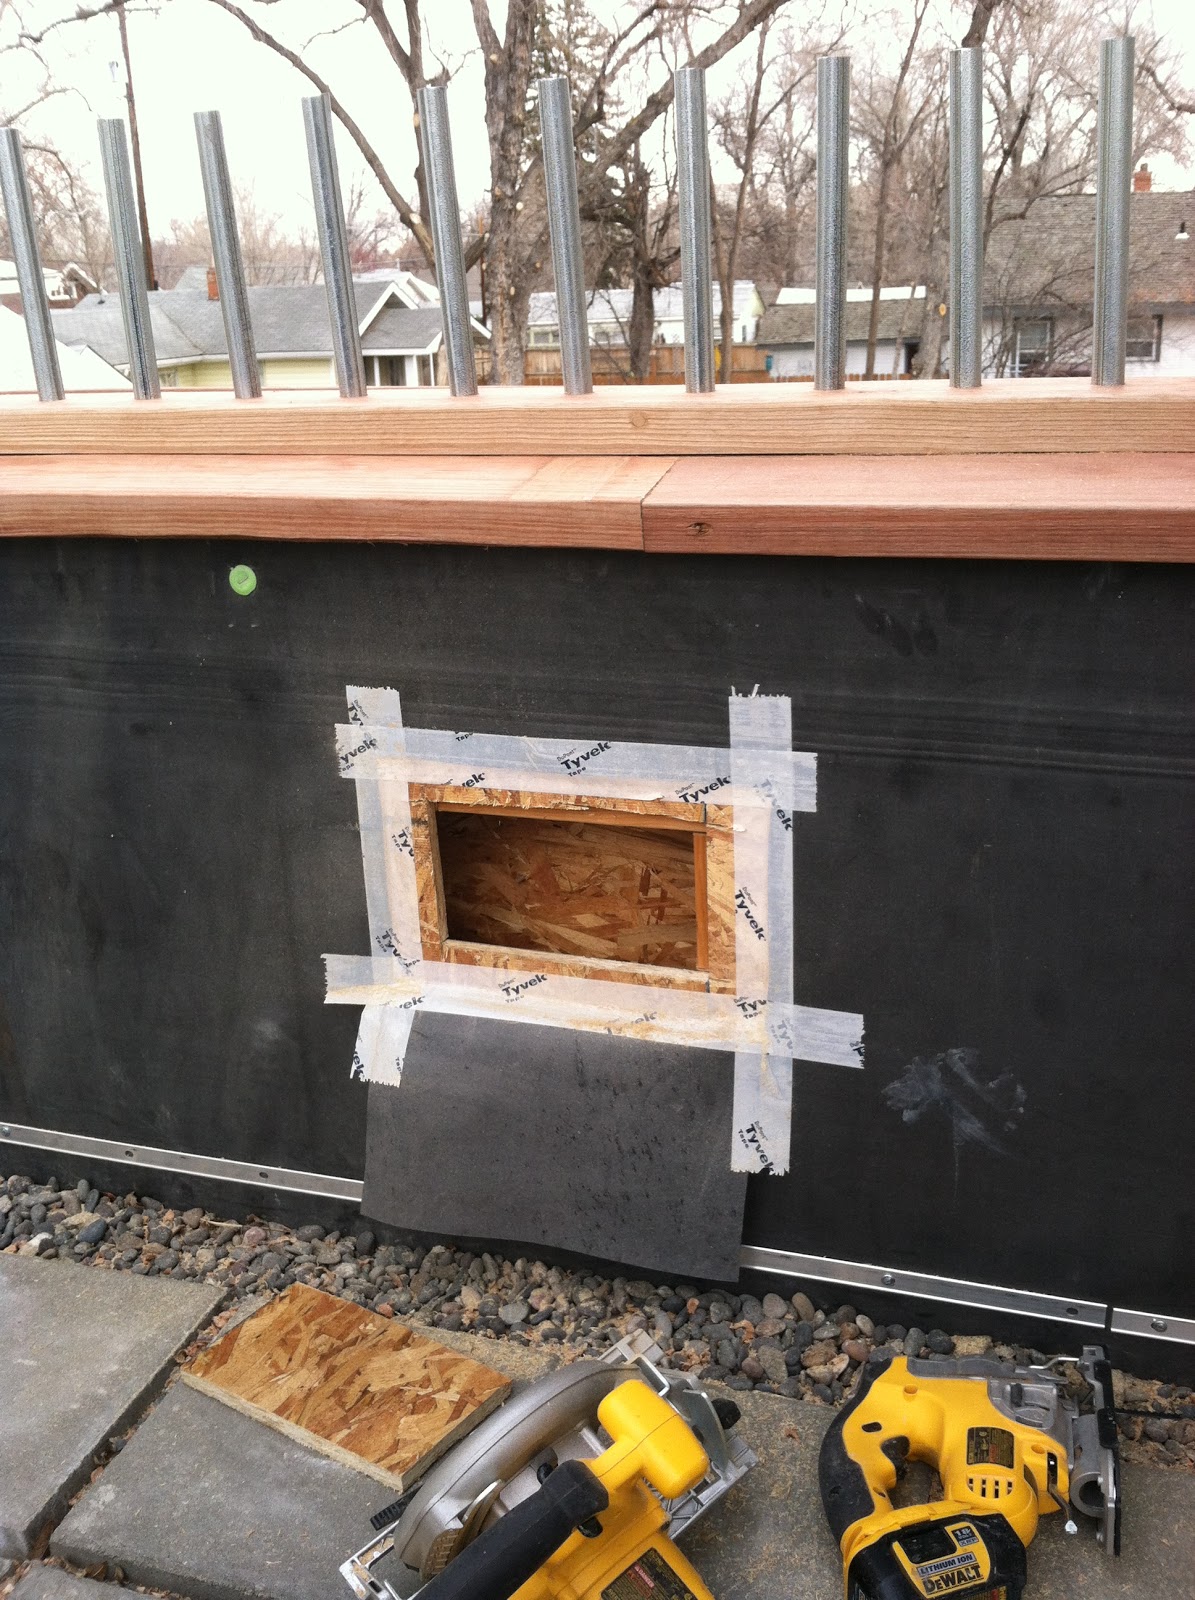
Nathan had previously nailed up 1" wire mesh (aka-chicken wire) all over the blue foam. The stucco gets pressed up onto the mesh and sticks to the foam. Trim and windows all needed to be masked off too...

Eventually, the lower parts get finished up and Nathan loads up buckets with "mud" ...

...and hauls it up the ladder to the scaffold plank to get the upper parts finished off :-)

And there we have a finished stucco wall!  (that is, until we do it all again with the finish coat...)
More to come later!

Giving Thanks

Seeing the seasons change again is both exciting- looking  back on how much progress has been made since last year, and a little daunting - accepting how much more there is to do before we are done and moving in...

Today though, we give thanks-  for the wonderful fall weather we have been having - for the patience, perseverance, and encouragement of our family and neighbors in this process - and for the exceptional service of our friends who have lent their time and talents to getting things done! Thanks to you all!

Kip, Gary and Nathan will finish up the last bit of prep work for stucco today: in-between sharing Thanksgiving meals! Tomorrow promises to be a prefect fall day again and we may see all the stucco work finished- certainly by the end of the weekend. Here's some photos from yesterday:

The East Gable- base coat of stucco is all done- foundation, base, and gable. We'll come back to finish the siding once all the stucco is up (just the base coat: we'll probably have to wait until spring to apply the final, integral-color finish coat... unless the winter is really mild).

The South/Front Elevation-  foundation & base are all done here- just a little strip left to do above the porch roof!

The North/Back Elevation-  All done (still have to do the finish coat of stucco next spring)!

The West Elevation is a bit of a trick- there is an old crab apple tree on the property line that we and our neighbor were really hoping not to have to cut back.  The branches go right through where the scaffold jacks need to go- but as you can see, we got them up.  The branch fit between jacks with just 1/2" clearance!

Tight fit- branch just slipping between the 14ft and 20ft jacks!

The North part of the West Elevation is all done with the stucco.  We'll get to the siding in the days ahead.

We will get another post put together with a little more explanation on the stucco process!
Happy Thanksgiving to all!

Saturday, November 3, 2012

Stucco!

 Our focus on the house is continuing to be on the outside.  Our friend Kip has been coming up from Cody for the last 2 months, each weekend to help with the house.  The sheet rocking is done in the entire house.  Terese is working all day, most days doing a (beautiful) job mudding.  By the time Nathan is done with the stucco on the outside, the inside might just be ready for flooring!

We've talked about the lovely wall covering that we were excited about doing, American Clay.  We've since decided that the hard labor to put it on and the uncertainty of the color we are getting, we decided to do conventional painted walls.  We estimated that it would take about a month longer to get into the house because Nathan would need to be the person to put the clay up.  We have a most talented painter in our family and decided we should take advantage of that talent.  We also have control over the color.  This will make the overall color of the house work better together.  We are planning on having bamboo flooring in the house (it's a yellowish color) so if we take maple cabinets in the kitchen, bamboo flooring and a taupe/yellow wall color, you can imagine that all that could go bad together really quick if you didn't have control of the wall color.  My office will stay the American Clay (that was our test room).  I'm glad it's staying.  I love it.  But I will love being in the house even more :)

SO!  STUCCO!  Nathan loves working with this product.  It's easy to go on.  Although, his shoulders are getting quite the workout!  We are focusing on the  stucco right now so we can get the blue board covered AND because the stucco needs 40' weather to cure...you can imagine that in November counting on days that have 40' for at least 3 hours is going to get few and far between.  We had a great week this week of 50+ weather (one day was even 60'!).  While the East Coast was getting hammered with hurricanes, we had perfect stucco weather that seems unusually warm for the last week of October. Nathan is taking full advantage of this and working like crazy!  With Kip here working this weekend, Nathan can keep going longer since has a stucco maker here.  He doesn't have to stop to make more stucco, Kip is an excellent mixer!
Loading up on stucco

Wet stucco going on

The light grey is a a wall that was done a few days ago, next to new stucco, the dark grey.


Friday, September 28, 2012

First runs of siding!

With the weather being much cooler than it was in July and August, Nathan has moved outside.  He has wrapped the lower half of the house in chicken wire preparing it for the stucco.  While he had all the scaffolding in place for that, he decide just to get that wall done.  With this, the first few runs of siding have gone up! 

The stucco and the siding will be the same color.  It offers a different texture and will make the house appear smaller.  This will give a the tall house the look of a reduced size - more in line with the houses on our end of the street.

There will be a band of trim about midway up the house (under the 2nd floor windows).  Above the band will be the siding, below the trim will be stucco.  In the gable ends of the roof, we will do stucco again.  This is cheaper than doing the siding as we won't have many ends of boards that are wasted.

You can now also see the full color scheme for the house.  Can't wait to keep seeing that blue to disappear!
  Pretty exciting stuff!

First runs of siding!


working on the short "easy" wall


Won't have to move the scaffolding to finish this wall.

Added later:  By the end of the next day, Nathan had this whole top section done!  YAhoo!!!

one section DONE!